Recipes
Pull Up a Chair. Let’s Find Something Delicious.
Smarter sweets, easy dinners, cozy breakfasts, seasonal favorites, and the recipes that make real life a little more delicious.
Some are made from scratch. Some start with a shortcut. All of them are made for real kitchens, real schedules, and people who still want their food to taste really good.
Browse by Category
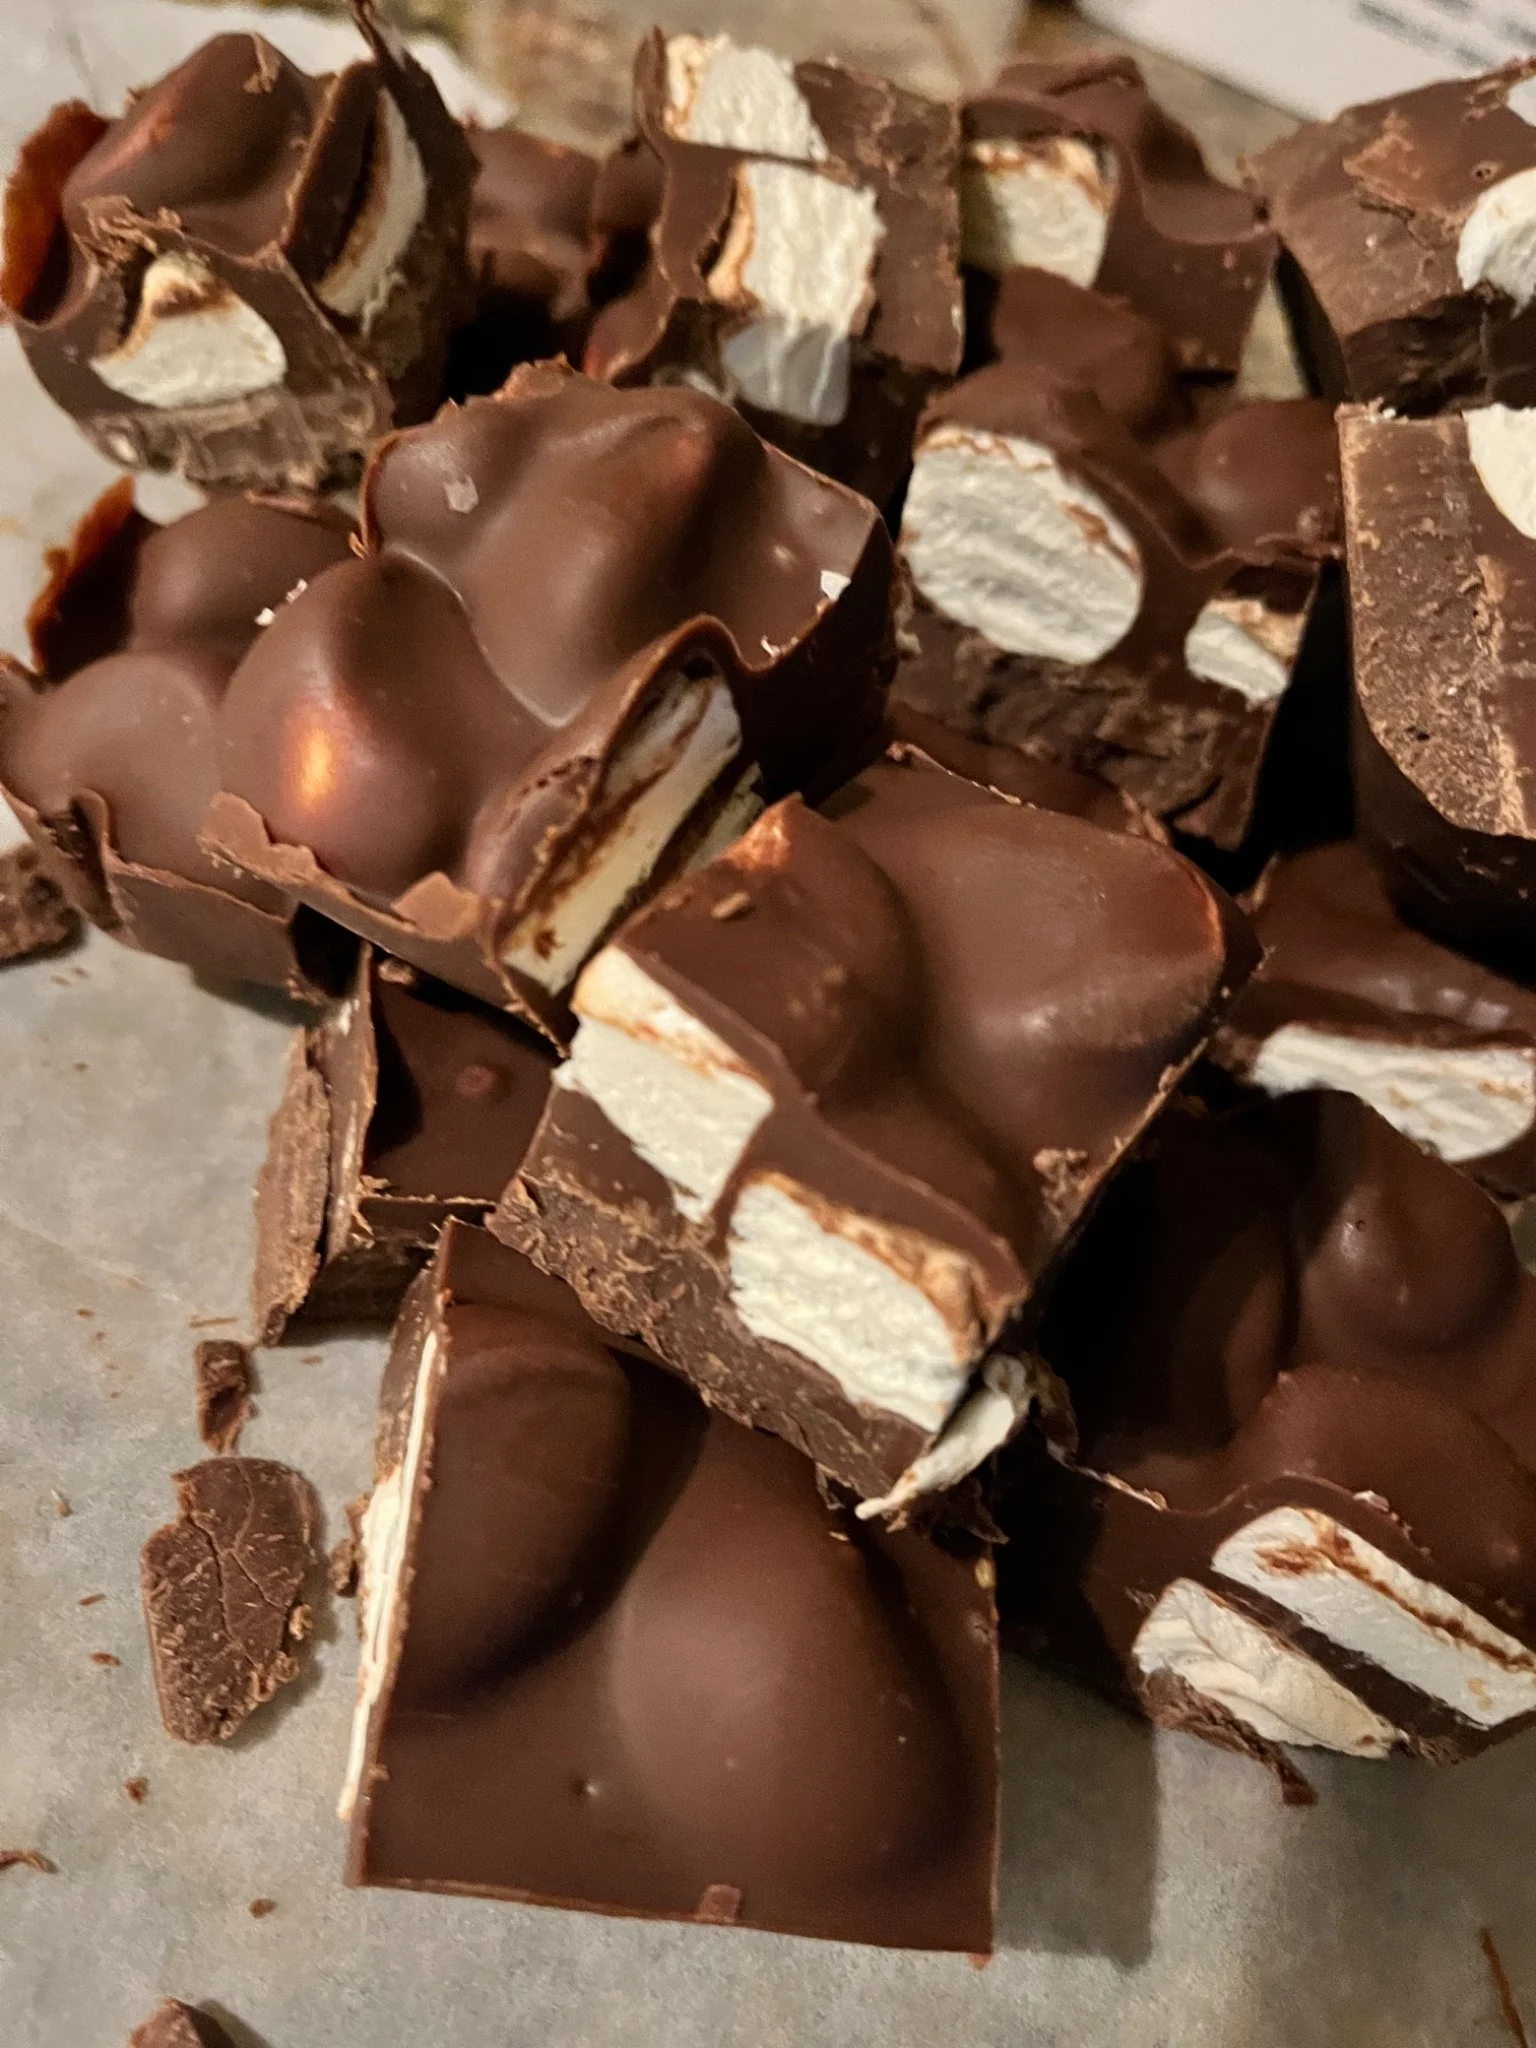
Smarter Sweets
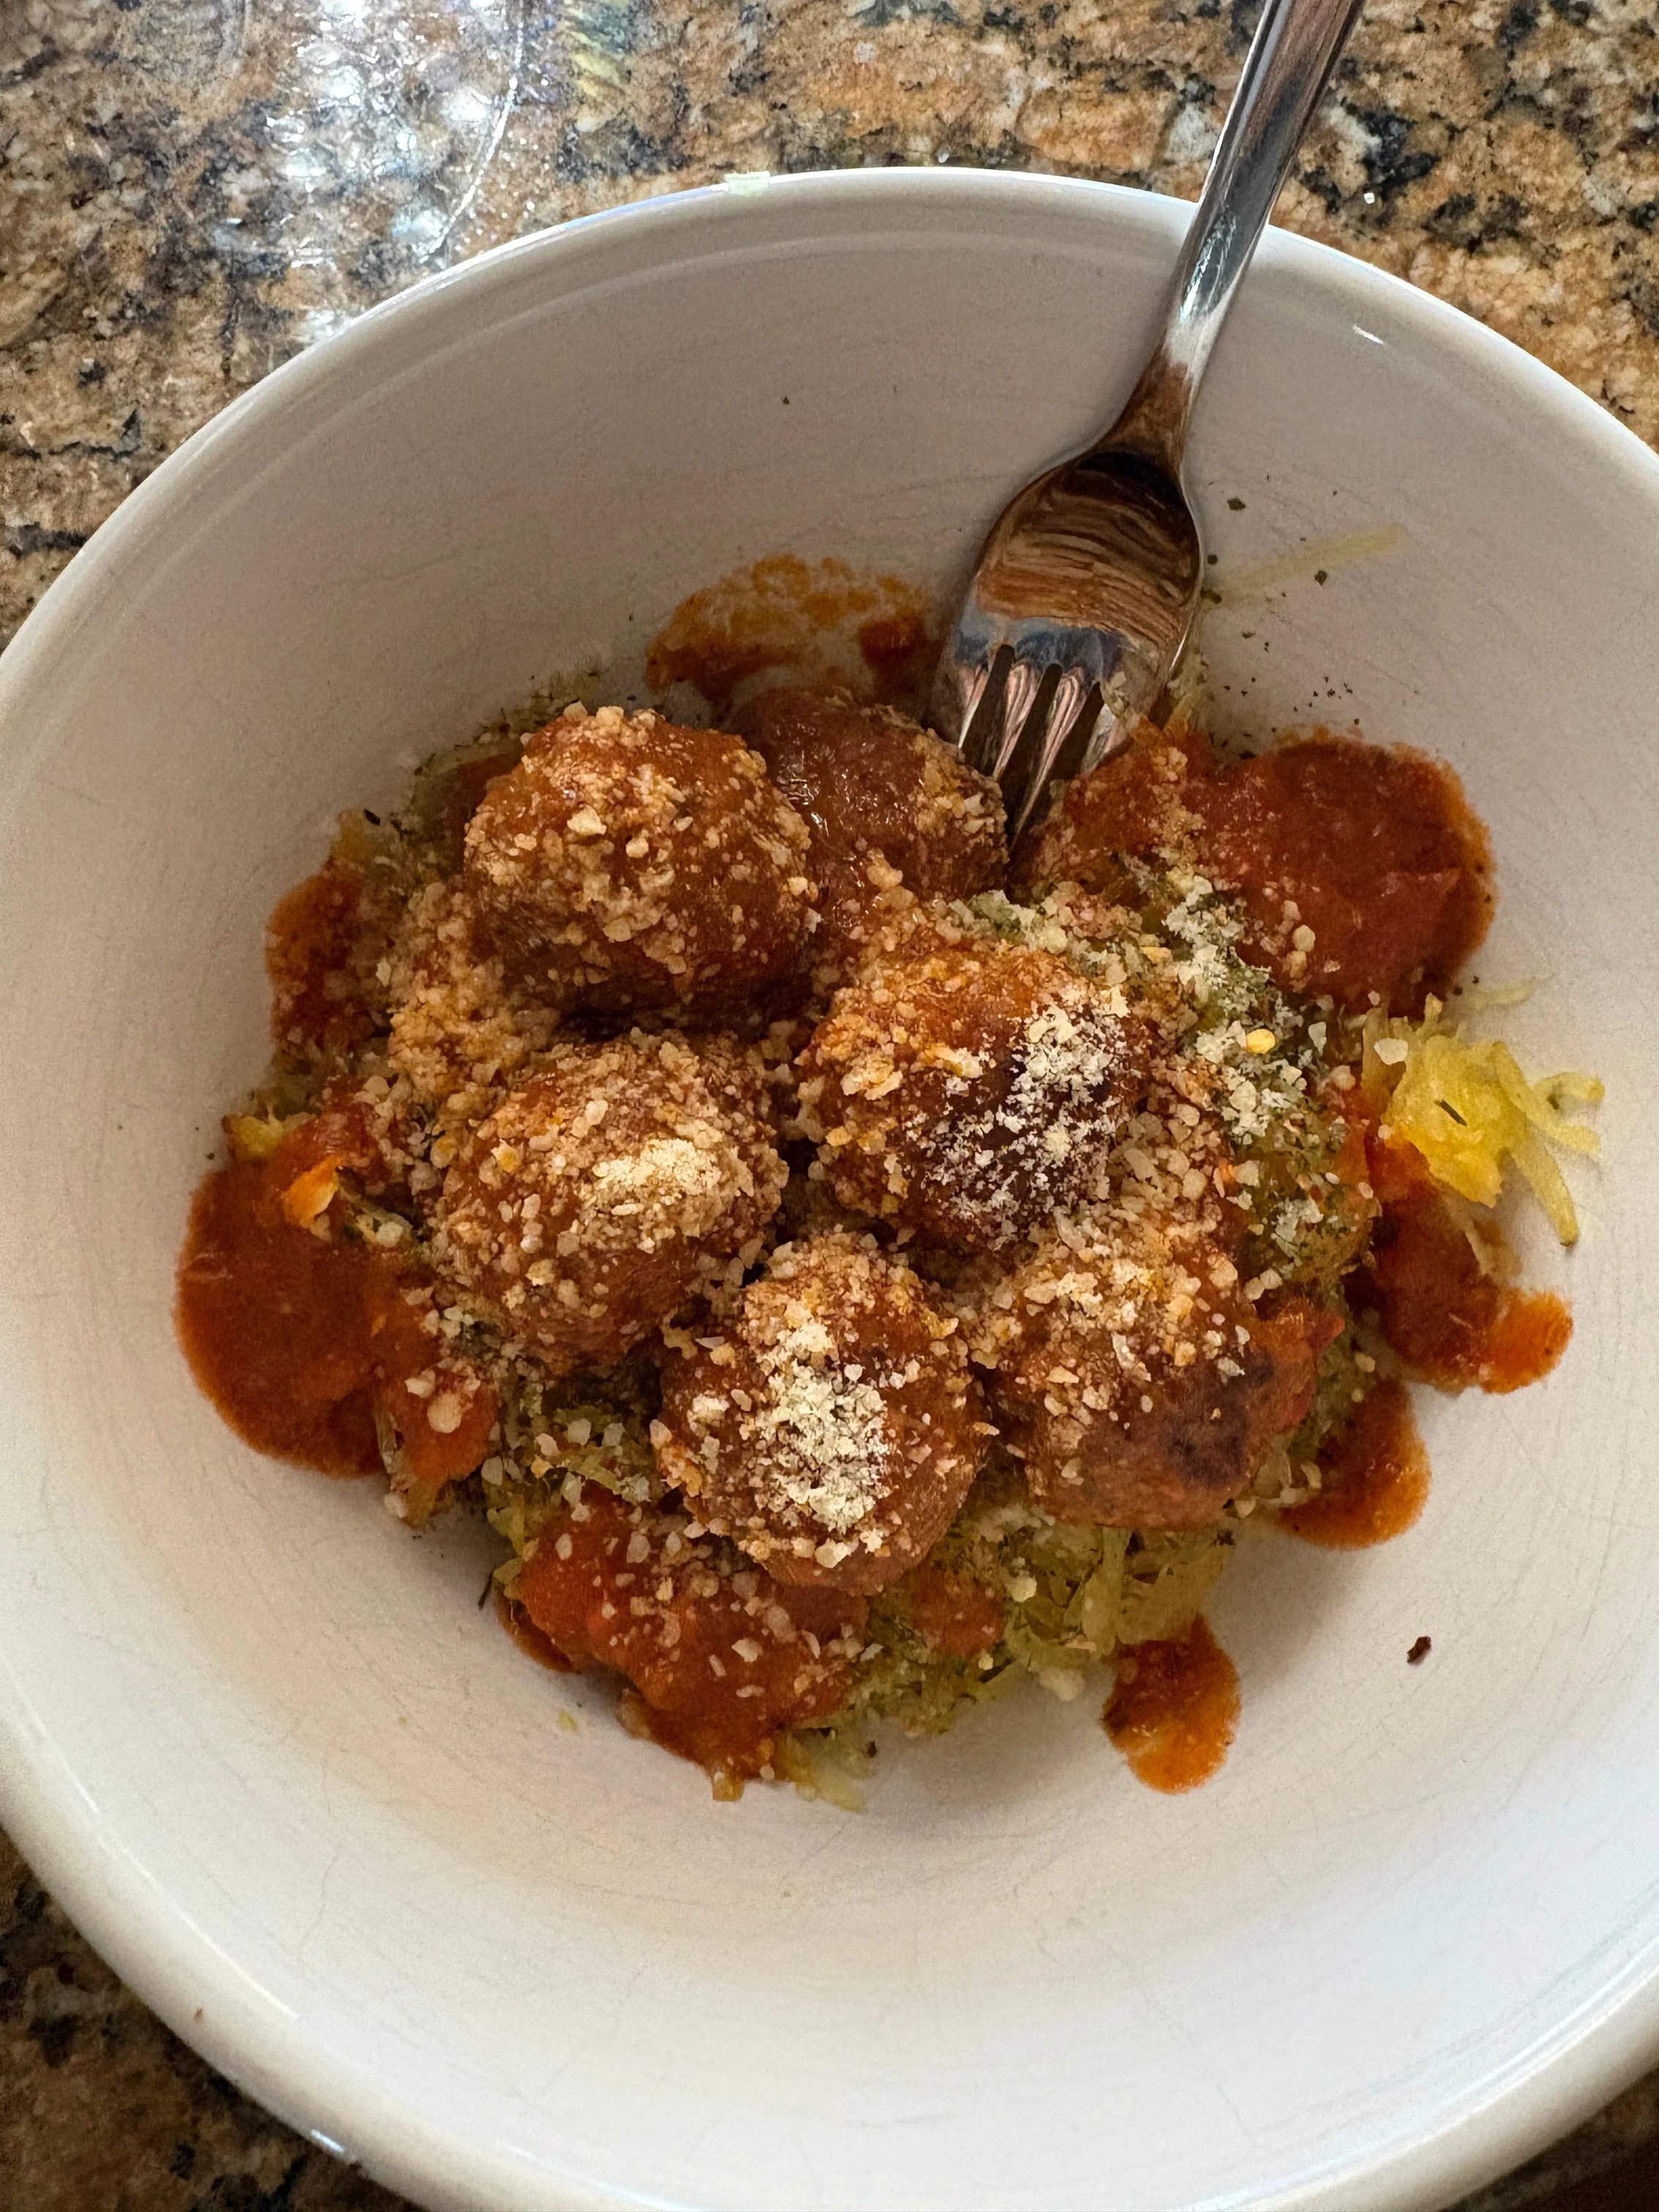
Easy Dinners
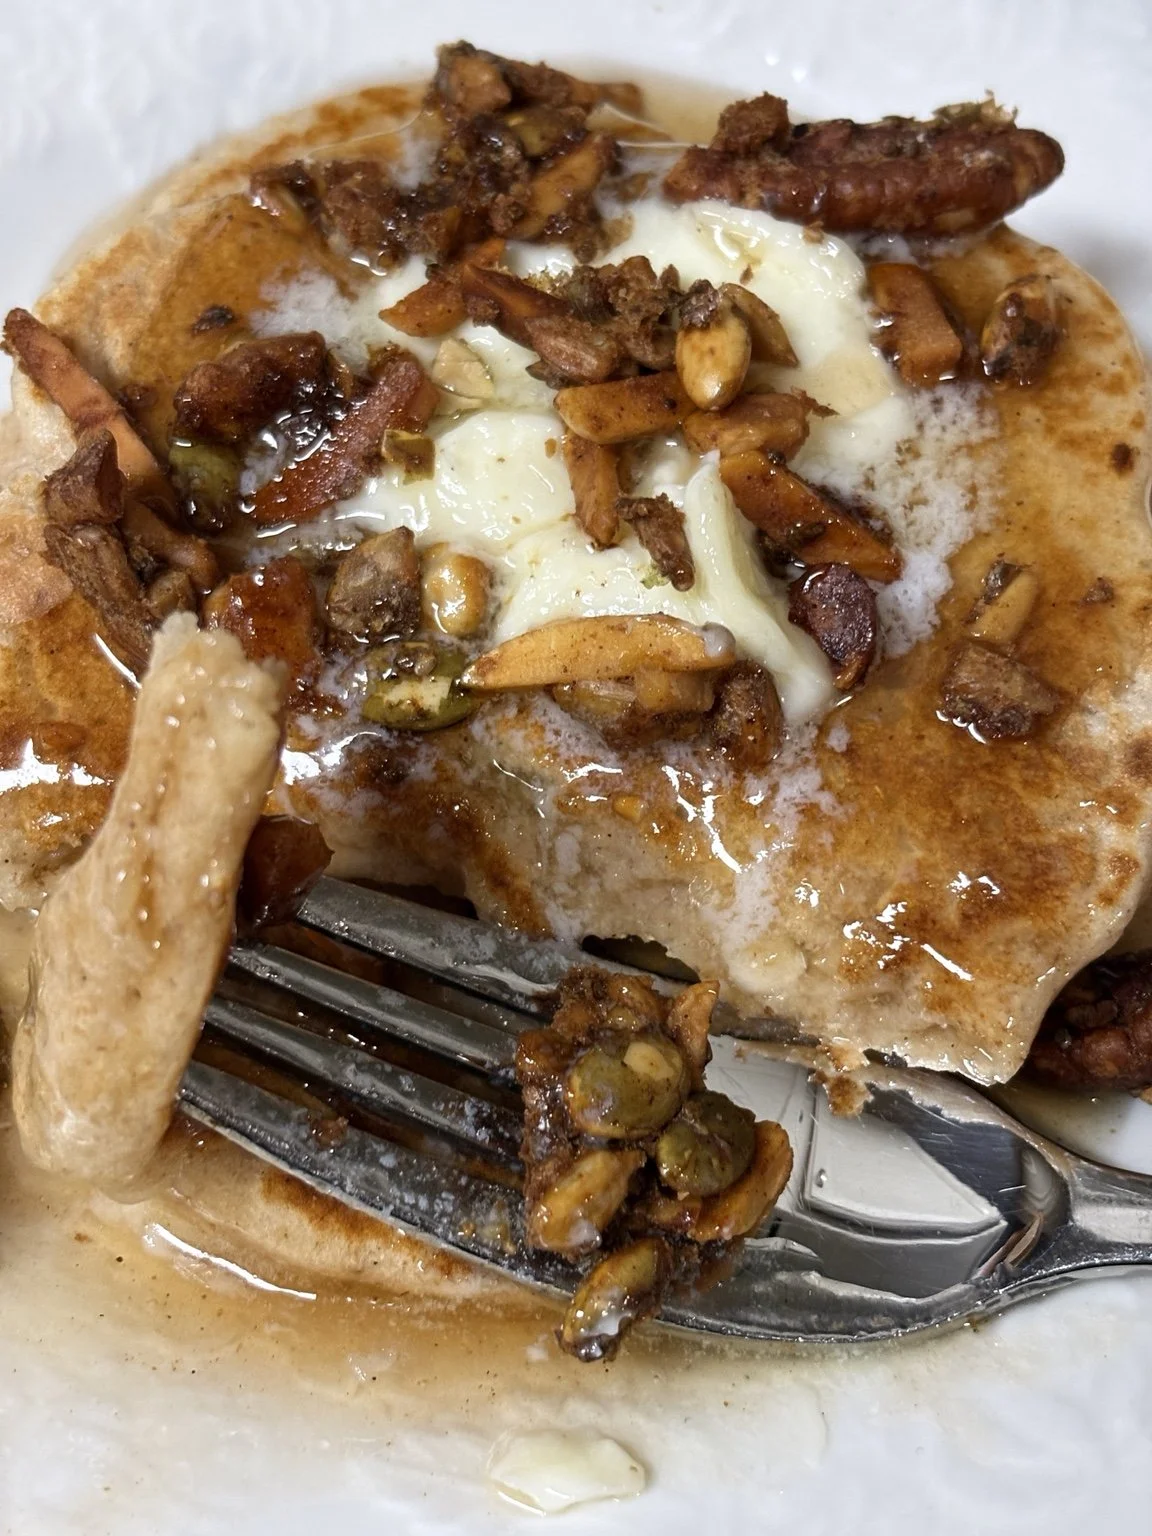
Breakfast & Brunch
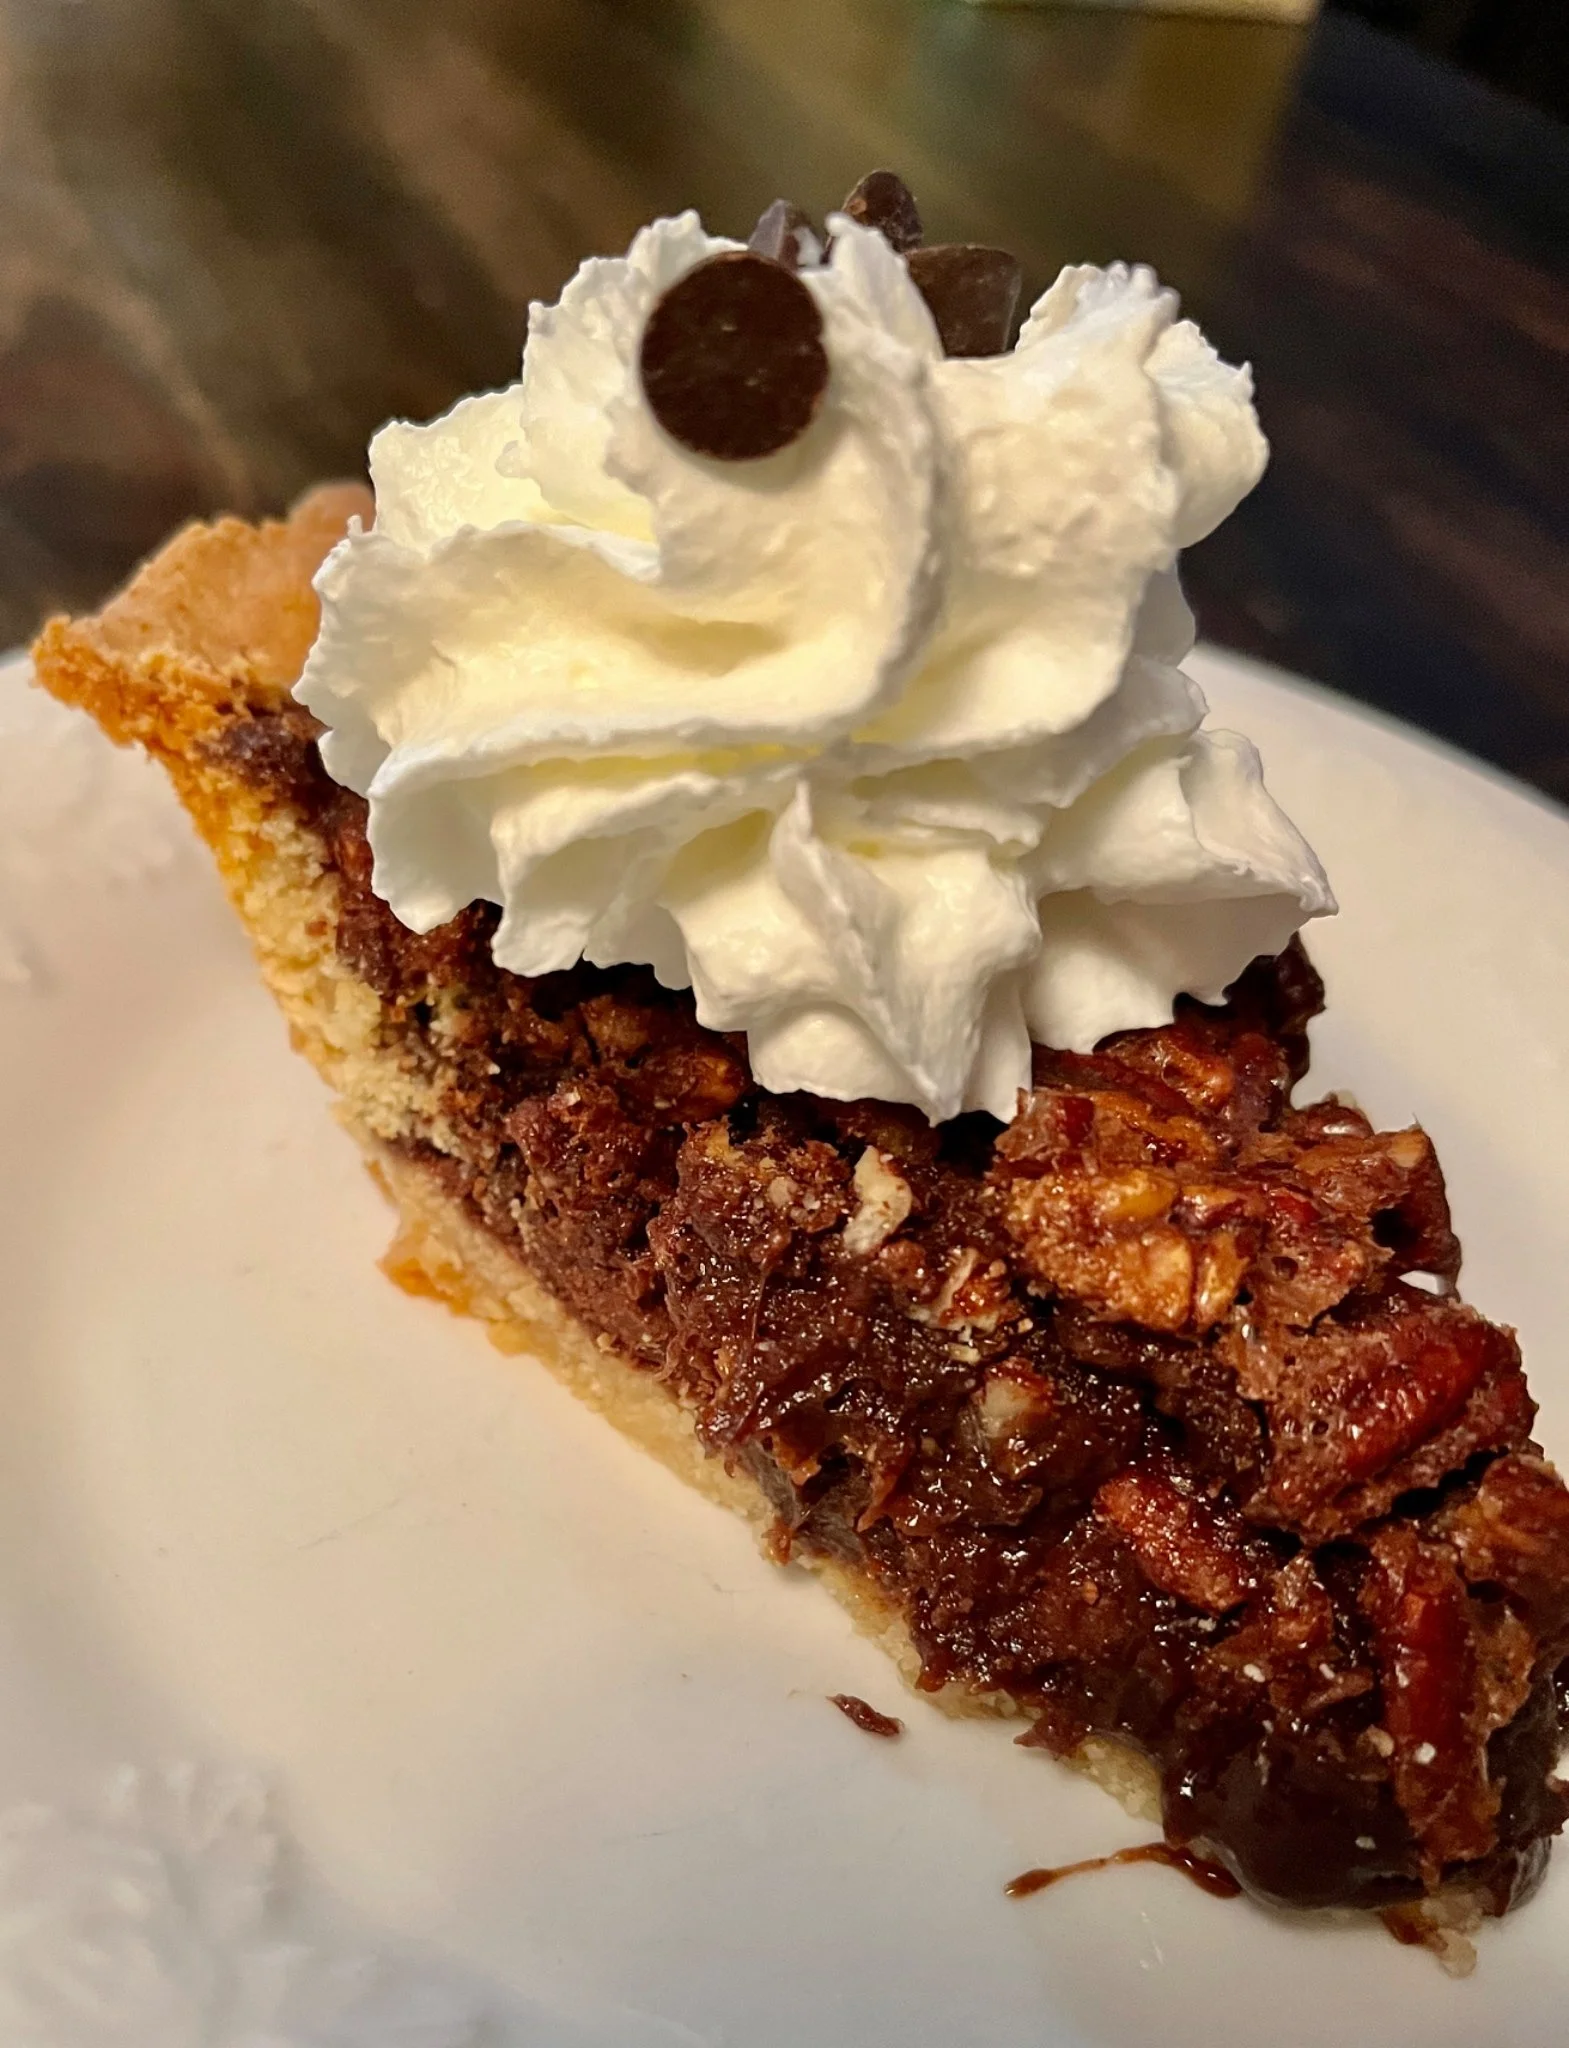
Seasonal Favorites
Sour Cream Blueberry Crumble
Crust and topping
3/4 cup almond flour + ¾ cup lupin flour (can use all almond flour if needed/preferred*)
or, you can use 1 ½ cups of boxed cake mix
2/3 cup brown sugar substitute + ¼ cup allulose
(omit the sugar of you use a cake mix)
¼ tsp salt (optional)
¾ cup butter, frozen and cubed
1 tsp almond extract, can use vanilla if that is your preference
*Almond flour has oils in it. If using all almond flour, suggest covering the crumble for half of the bake time. If needed, you can add some foil over the top of the crumble is getting too browned.
Filling
1 large egg + 1 egg yolk
2/3 cup brown sugar substitute + ¼ cup allulose
½ cup sour cream or plain Greek yogurt**
1/3 cup almond flour
¼ tsp salt (optional)
1 tsp almond extract, can use vanilla if that is your preference
3 cups blueberries – frozen or fresh
**You cannot substitute regular yogurt, there is too much liquid, and your filling will come out too loose.
For the crust:
Add all ingredients to the bowl of a food processor. Pulse until the mixture looks like sand. Add all -1/2 cup of the crust to the bottom of a greased 8x8 pan, then set both aside. You will add the 1/2 cup crust over the top of the blue berry mixture.
For the filling:
Add all the ingredients together except the blueberries and mix to combine. Once combined, slowly fold in the blueberries and add immediately to the crust. Sprinkle the 1/2 cup of crust that you set aside for the crumble topping. Add dish to a pre-heated 350 oven and 45 minutes – please do not forget about the note above on almond flour. Add more time in 3 minute increments until the curst is dark golden brown.
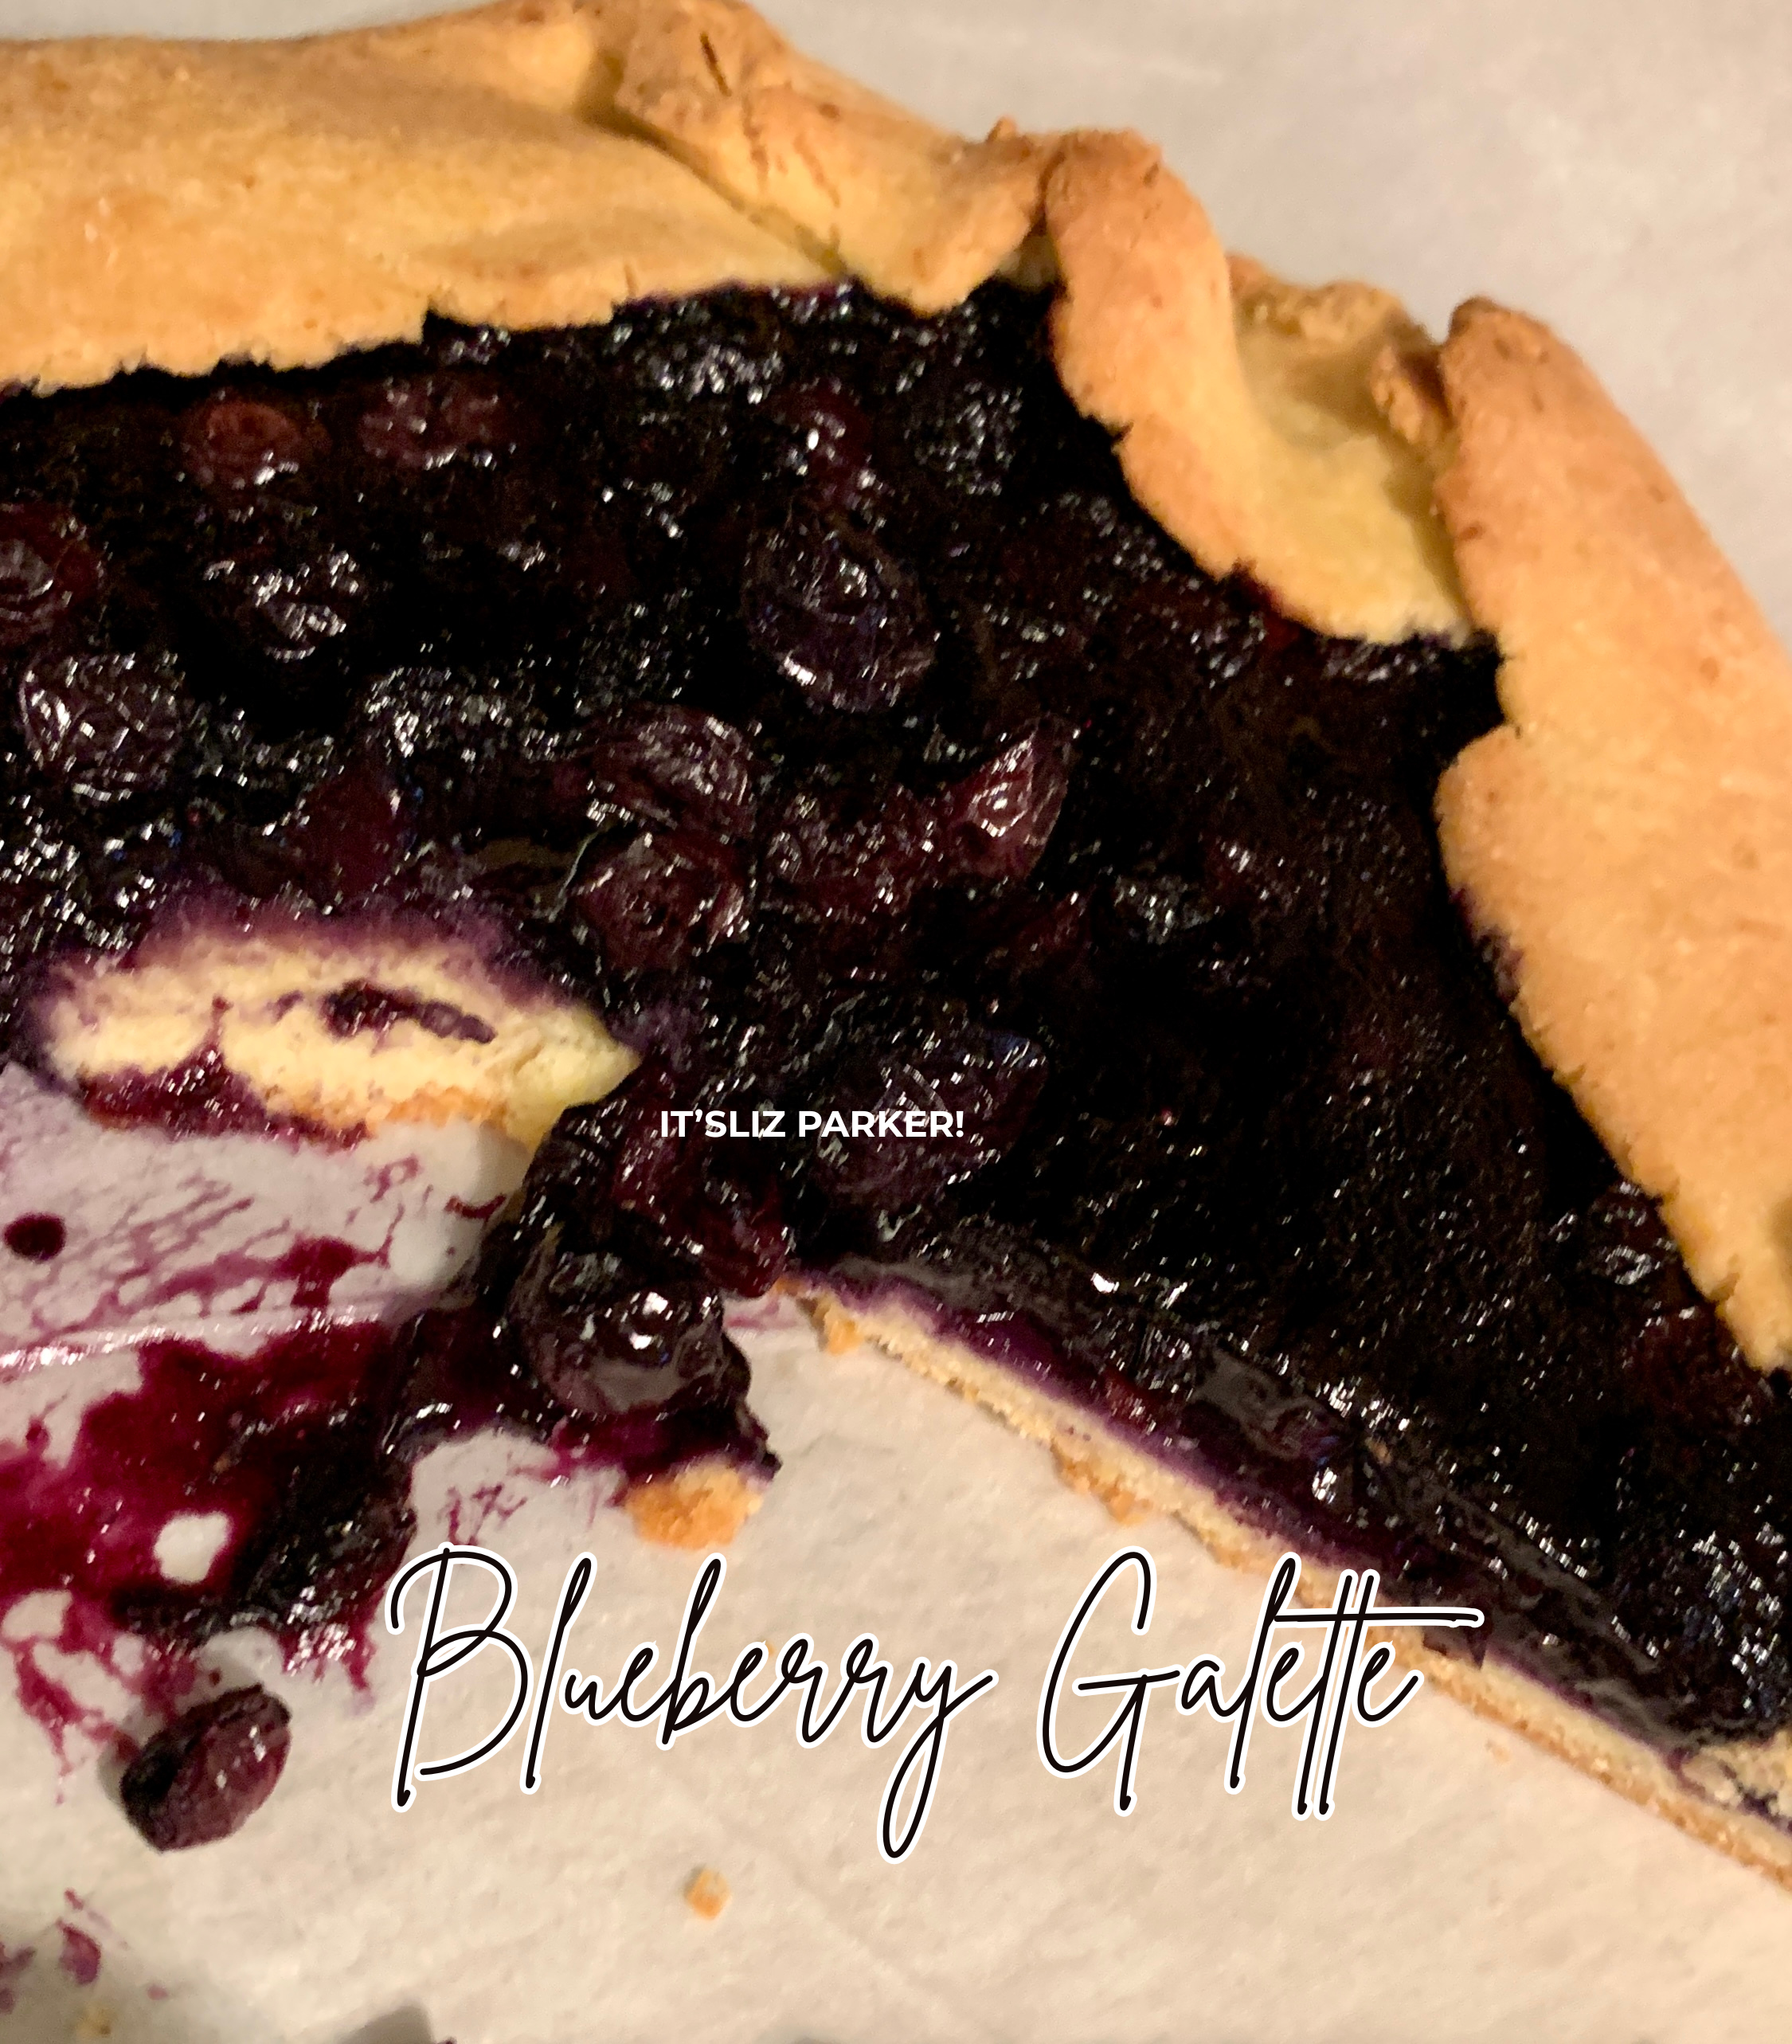
Spring Galettes: The Perfect Rustic Dessert for the Season, the One with Blueberries!
Spring is almost here, and so is galette season! This rustic, no-fuss dessert brings big flavor with minimal effort, perfect for showcasing fresh spring fruit or even a savory twist. Whether you go traditional or try a low-carb version, this galette recipe proves that simple really can be stunning.
Spring is almost here, and you know what that means—flowers start blooming, the sun is shining, and our ovens are begging for a new recipe to celebrate the season. Enter the Spring Galette, a no-fuss, rustic beauty that delivers big flavor with minimal effort. If you’ve never made a galette before, think of it as a pie’s laid-back, effortlessly chic cousin who looks good but never tries too hard.
Why Galettes? Because Pie Can Be a Diva
Look, I love a good pie, but let’s be honest, it demands commitment. Chilling the dough, rolling it just right, crimping edges, making sure the filling doesn't turn into a soupy mess... It’s a whole thing. A galette, on the other hand, is refreshingly forgiving.
This free-form pastry doesn’t require perfection, which means you don’t need to be a pastry chef to make it look—and taste—amazing. Plus, galettes are endlessly adaptable. Whether you’re craving something sweet with spring’s freshest fruit or a savory version with cheese and herbs, there’s a galette for you.
The Secret to a Perfect Spring Galette
Here’s what makes a galette shine in springtime: seasonal produce, a buttery crust, and just the right balance of sweet and tart.
1. The Crust: Keep It Flaky, Keep It Simple
Galette dough is basically pie dough’s chill sibling—just flour, butter, a pinch of salt, and a little cold water. Some recipes sneak in a bit of sugar or almond flour for extra flavor, but at its core, the crust is all about butter and texture. Keep everything cold, don’t overwork the dough, and you’ll be golden (literally).
2. The Filling: Spring is Your Playground
Spring brings some of the juiciest, most vibrant fruits to the market, making it the perfect time to experiment. Here are some winning combinations:
Strawberry-Rhubarb – A classic for a reason. Sweet, tart, and pure nostalgia in every bite.
Peach & Blueberry – Peaches start showing up in late spring, and they pair beautifully with blueberries.
Raspberry-Lemon – Bright, tangy, and utterly refreshing.
Apple-Honey-Lavender – If you want something unique, try this floral-infused treat.
Oh, and if you’re keeping things low-carb and sugar-free, you can absolutely make a keto-friendly galette using Carbquik or almond flour for the crust and allulose or monk fruit for sweetening. The beauty of a galette is its adaptability!
3. The Final Touches: Don’t Skip These
Before baking, brush the crust with an egg wash for that beautiful golden color. If you're feeling fancy, sprinkle the edges with a bit of coarse sugar (or a sugar-free alternative). Once it’s out of the oven, let it cool slightly, then finish with a drizzle of sugar-free glaze or a dollop of whipped cream.
No Excuses—Make a Galette!
So, if you’ve been hesitant to try your hand at baking, a spring galette is the perfect place to start. It’s forgiving, it’s fun, and it looks like something you’d pay $8 for at a fancy café. Plus, nothing beats the smell of a homemade galette wafting through your kitchen on a sunny spring afternoon.
Let me know if you try making one—bonus points if you experiment with a low-carb version! Happy baking! 🌸🥧
Now, on to the recipe!
This is an original It'sLizParker! recipe! I have tested this pastry dough soooo many times and I finally got it right. It is as flaky as AP dough (if you're used to GF cooking) and deliciously buttery. You can use cold (almost frozen) butter, cream cheese, and a combination of both. This is good for fruit with the added sweetener to the dough or leave it out and make a caramelized onion and bacon gallette.
🥧 Do not use wet fruit, the crust will not hold together (i.e. tomatoes).
🥧 Do not eat this right out of the oven, it will not stay together and the flavor will be off.
🥧 Do not use uncooked fruit.
🥧 I have not tested this with any other binding agent. Xanthan gum is my to go. I cannot promise results will be the same.
🥧 Do not sub more coconut flour in for another flour. 1/4 cup of coconut flour is equal to 1 cup of almond flour.
🥧 Your results may vary depending on your ingredients.
Here are the brands that I use:
➡️ Blue Diamond fine grind almond flour
➡️ Bob's Redmill coconut flour, Xanthan Gum, and baking powder
➡️ Lupina lupin flour
➡️ Lankanto allulose
Rainy Days & Cozy Bakes: The Best (Easiest!) Chicken Pot Pie
Hey there! The weather in Oceanside has been downright soggy lately. Not exactly frightful, but let’s just say I wouldn’t be surprised if a duck floated by my window – thank goodness it is over (I hope!). And you know what rain means? Cold temps (usually) and ALL the Fall vibes but without the ‘Ber months. And when I get those Fall feels, I crave something warm, cozy, and comforting.
This recipe was born out of that exact mood—a need for something delicious and satisfying, without a ton of fuss. And let me tell you—this one DELIVERS. It’s easy-peasy, comes together lickety-split, and is just so good. Full stop.
This version also packs in more protein and a little less fat, but don’t worry—it’s still every bit as comforting as the original. Let’s get to it!
The Easiest Chicken Pot Pie (Lower Fat, Higher Protein & Still Delicious!)
Ingredients:
For the filling:
✔️ 4 tbsp butter + 1 tbsp (divided)
✔️ ½ small onion, chopped
✔️ 1 cup frozen green beans
✔️ 1 small can mushrooms
✔️ 4 large brussels sprouts, chopped
✔️ 2 cans of chicken
✔️ 1 cup half-and-half (instead of heavy cream)
✔️ ¼ tsp guar gum (mixed in ½ tbsp avocado oil)
For the topping:
✔️ 1 cup Carbquik (low-carb baking mix)
✔️ 1 tbsp mayo (down from ⅓ cup)
✔️ ¼ cup Greek yogurt (for extra protein!)
✔️ ½ - ⅓ cup milk substitute (start with ⅓ cup, add more if needed)
✔️ ¾ cup white cheddar cheese
Directions:
1️⃣ Preheat the oven to 375°F.
2️⃣ In a pan, sauté the onion, green beans, and brussels sprouts in 4 tbsp butter until soft. If using canned mushrooms, add them last so they don’t get too mushy.
3️⃣ Stir in the canned chicken and half-and-half, heating through.
4️⃣ To thicken, mix the guar gum with avocado oil, then stir into the filling.
5️⃣ Pour everything into an oven-safe dish.
6️⃣ In a bowl, mix the Carbquik, mayo, Greek yogurt, milk substitute, and white cheddar. Start with ⅓ cup of milk and add more until the batter is pancake-like.
7️⃣ Pour over the filling, spreading it evenly.
8️⃣ Bake for 45 minutes, or until golden brown.
9️⃣ Remove from the oven, swirl the remaining 1 tbsp butter over the top, and let it melt into golden, buttery goodness.
🔟 DIG IN!
Why You Need This in Your Life
This, without a doubt, is the best chicken pot pie I’ve made in a long time. It’s warm, creamy, cheesy, and just SO satisfying. But now, it’s a little lighter and higher in protein, making it a perfect cozy meal that still fits a healthy low-carb lifestyle.
Also—can we talk about white cheddar for a second? I love it. It’s got that extra bite that just makes everything better. But if you’re team regular cheddar, no judgment—this will still be amazing.
So tell me—are you a white cheddar or a regular cheddar kind of person? Let me know in the comments!
Stay cozy, friends. 💛
Total Servings: ~6
Per Serving Macros:
Calories: ~364
Protein: ~25.8g
Carbs: ~18.7g
Fat: ~25.7g
If you want to lower the fat content, here are some smart swaps.
1. Reduce Butter
Current: 5 tbsp butter (55g fat)
Swap: Use 2 tbsp butter + 1 tbsp avocado oil (monounsaturated fats, 14g fat instead of 55g)
Savings: ~41g fat (~7g less per serving)
2. Use Less Cheese
Current: ¾ cup white cheddar (27g fat)
Swap: Use ½ cup or switch to a reduced-fat white cheddar
Savings: ~9g fat (~1.5g less per serving)
3. Choose Fat-Free Half-and-Half or a Lighter Cream Substitute
Current: 1 cup half-and-half (28g fat)
Swap: Use 1 cup unsweetened almond milk + 2 tbsp fat-free Greek yogurt to maintain creaminess
Savings: ~25g fat (~4g less per serving)
4. Reduce Mayo Further
Current: 1 tbsp mayo (10g fat)
Swap: Remove mayo entirely and increase Greek yogurt slightly
Savings: ~10g fat (~1.6g less per serving)
5. Opt for a Leaner Biscuit Topping
Current: Carbquik has 18g fat per cup
Swap: Use ½ cup Carbquik + ½ cup almond flour for a lower-fat option (almond flour has more protein and fiber)
Savings: ~4g fat (~0.7g less per serving)
Italian Onion Stew (Cipollata): A Low-Carb Comfort Food That’s Big on Flavor
Craving comfort food without the carbs? Try this low-carb Cipollata—an Italian onion stew with sausage, herbs, and serious flavor.
Let’s talk about onions. They’re the underrated heroes of the kitchen—always in the background, adding depth and sweetness to our favorite dishes, but rarely the star of the show. Well, not today. Today, onions get their well-deserved moment in the spotlight with Cipollata, an Italian Onion Stew that’s rich, hearty, and—best of all—totally low-carb.
Yes, you read that right. A stew made almost entirely of onions can be low-carb if you know what you're doing. And lucky for you, I do.
What Is Cipollata?
Cipollata (pronounced chee-poh-LAH-tah) is a traditional Italian onion stew that hails from Umbria, Tuscany, and other regions where people understand the power of slow-cooked goodness. It’s typically made with onions, tomatoes, herbs, and sometimes Italian sausage for extra heartiness. The result? A dish that’s sweet, savory, and deeply satisfying—without the need for heavy starches or processed ingredients.
Why You’ll Love This Stew
It's a comfort food dream – Slow-cooked onions melt into a silky, flavorful base that tastes like it simmered for hours (because it did).
Super low-carb and keto-friendly – Unlike traditional stews that rely on potatoes or beans, this one is naturally low in carbs while still being ultra-satisfying. I have added a low carb pasta to give it more protein and chew. Because YUM.
Perfect meal prep option – Make a big batch, and you’ll have an easy, reheat-friendly meal ready for busy days.
Budget-friendly – Onions and broth are about as affordable as it gets, and if you throw in some Italian sausage, you’ve got a protein-packed dish that won’t break the bank.
How to Make Low-Carb Italian Onion Stew
Now, let’s get into the magic of making this comforting, soul-warming dish.
The ingredients are straight forward:
4 large red onions (any sweet onion works), thinly sliced (approx. 800g)
2 tablespoons olive oil (30ml)
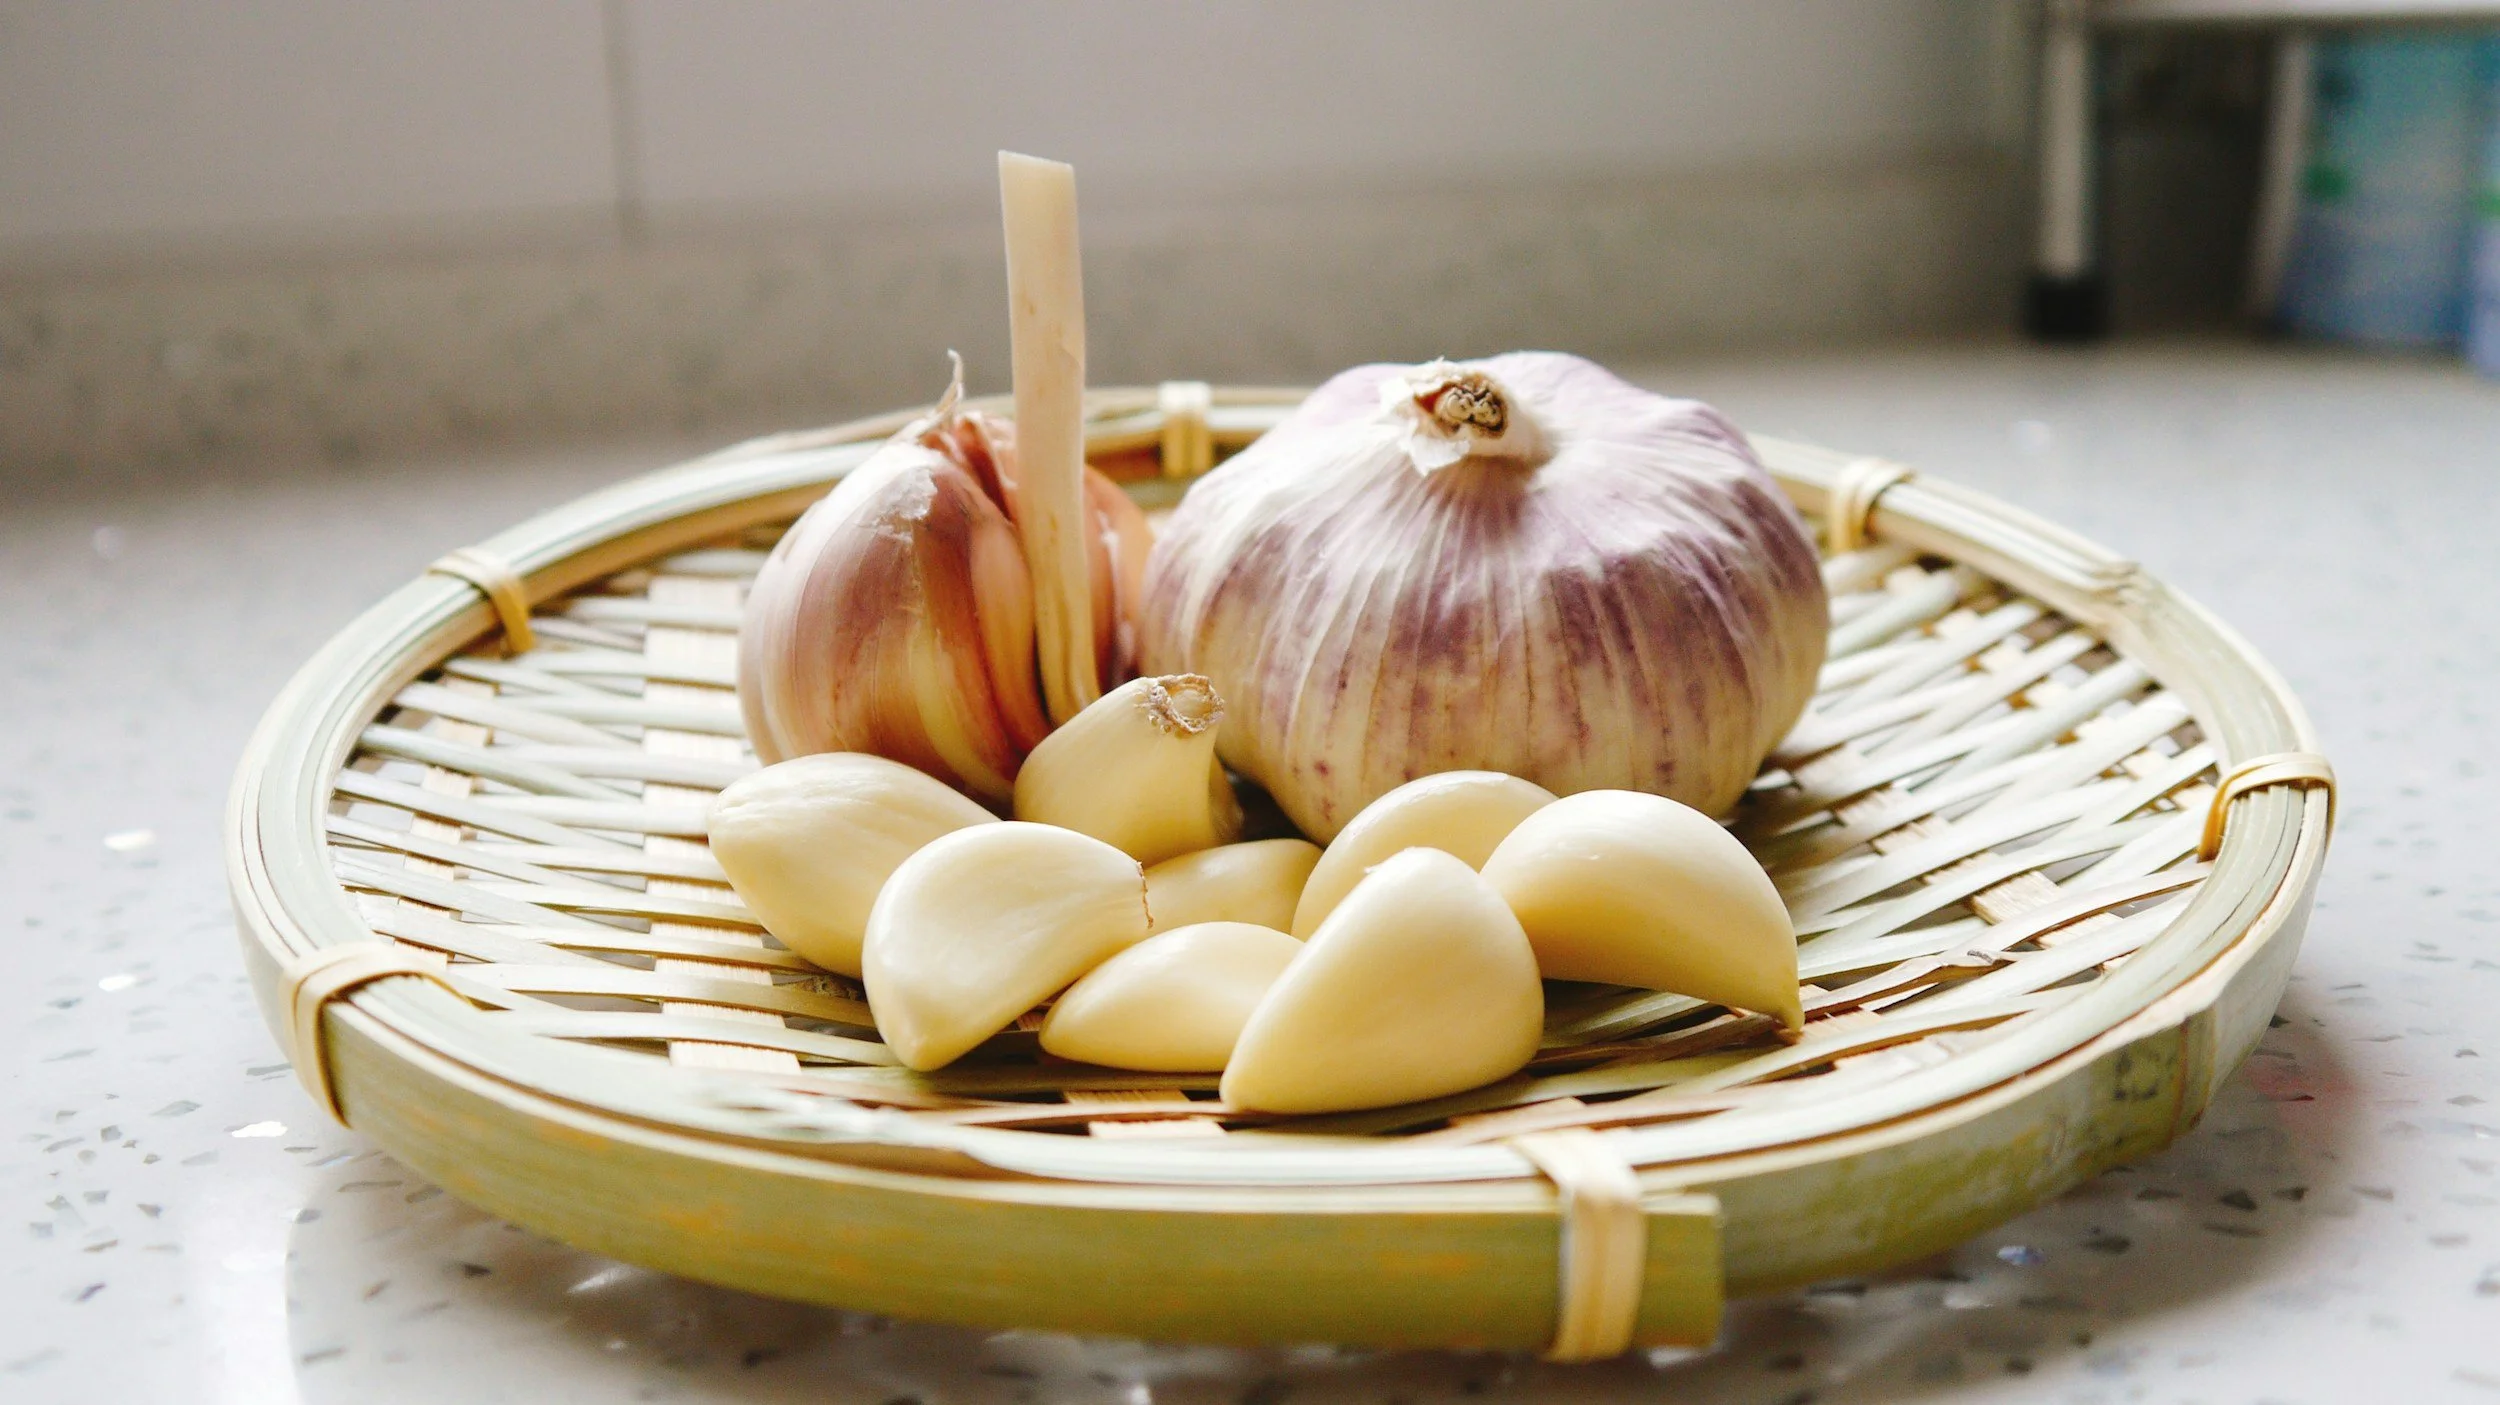
2 garlic cloves, minced
1/2 cup diced tomatoes (120g)
2 cups chicken broth (480ml)
1 teaspoon dried oregano
1/2 teaspoon red pepper flakes
Salt and pepper to taste
1 tube Italian sausage (optional for extra protein)
Low-carb pasta (optional)
Instructions:
🤌🏻 Heat olive oil in a large pot over medium heat. Add the onions and cook until soft and translucent, about 10 minutes.
🤌🏻 Add the garlic and cook for 1-2 minutes until fragrant.
🤌🏻 Stir in the tomatoes, oregano, and red pepper flakes. Cook for 5 minutes to allow the flavors to blend.
🤌🏻 Add the chicken broth and sausage. Simmer for 30 minutes, until the onions are tender and the stew is thickened.
🤌🏻 Add pasta and cook until it is tender, but not over done
🤌🏻 Season with salt and pepper to taste.
This makes 4 one cup servings, might be a little more with the added pasta and comes with about 11 net carbs. This number is totally based on the added pasta. If you omit, it is about 8 net carbs per serving and SO worth it. Comfort in a bowl. I am not even kidding!
I hope you make this and ENJOY!!